PingFederate Configuration
To configure OneStream REST API to support PingFederate authentication, follow these steps:
To enable single sign-on with PingFederate for the OneStream Desktop application, which includes the Windows Client application and the Excel Add-In, using OIDC protocol, see the Installation and Configuration Guide.
Configure the REST API Application Registration in PingFederate
To configure the REST API application registration, you need to enter the same client ID in PingFederate and the Web Server Configuration in OneStream. You also need to copy the client secret from PingFederate, which is used to request a token.
-
Log in to your PingFederate account.
-
In the menu on the left, click OAuth Server.
-
Under the CLIENTS list, click the Create New button.
-
On the Client page, complete the following fields:
-
CLIENT ID: Enter a client ID, which is a unique name or identifier for the application registration.
-
NAME: Enter the name of the client.
-
CLIENT AUTHENTICATION: Select CLIENT SECRET.
-
CLIENT SECRET: Select CHANGE SECRET and then click the Generate Secret button.
-
ALLOWED GRANT TYPES: Select Client Credentials.
-
-
Click the Save button.
Set Up the Web Server Configuration in OneStream
-
Open the OneStream Server Configuration Utility application.
-
Go to File > New Web Server Configuration File.
NOTE: Alternatively, you can open an existing file to edit it.
-
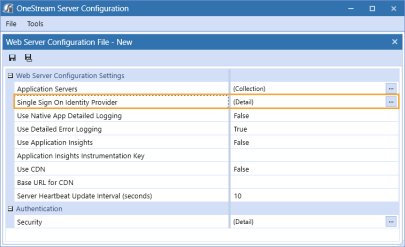
Click the ellipsis to the right of Single Sign On Identity Provider.
-
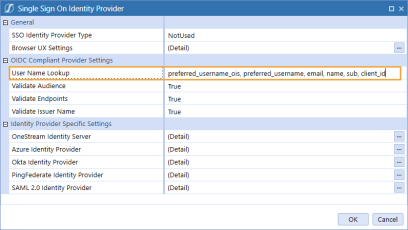
In the User Name Lookup field, type client_id to include this claim in the ordered lookups.
-
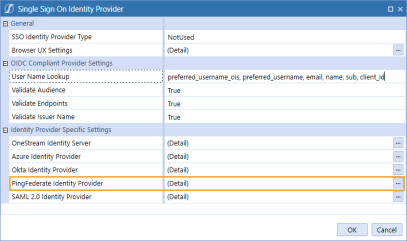
Click the ellipsis to the right of PingFederate Identity Provider.
-
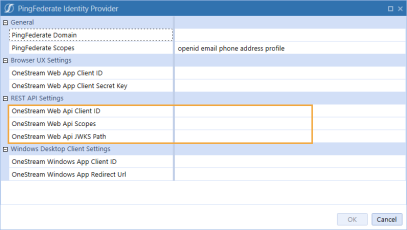
In the PingFederate Identity Provider dialog box, in the REST API Settings section, complete the following fields :
-
OneStream Web Api Client ID: Enter the client ID you entered in PingFederate. See Configure the REST API Application Registration in PingFederate step 4.
-
OneStream Web Api Scopes: Enter custom scopes.
-
OneStream Web Api JWKS Path: Enter the path on the PingFederate server to publish a JSON Web Key Set with the keys and certificates used for signature verification.
-
-
Click the OK button.
-
Save changes and reset IIS.
NOTE: Reset IIS after you save any changes to the Application Server Configuration or Web Server Configuration.
Configure the User in OneStream
-
In the OneStream Desktop application, go to System > Security > Users > <user>.
-
In the Authentication properties, complete the following fields for REST API authentication through PingFederate.
-
External Authentication Provider: In the drop-down menu, select the PingFederate configuration.
-
External Provider User Name: Enter the client ID you entered in PingFederate. See Configure the REST API Application Registration in PingFederate step 4.
-
-
Click the Save icon.
Configure the AUD Value
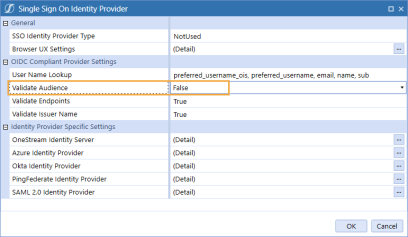
In some installations, the Audience value is not used in the authentication process. Normal processing will cause authentication to fail if this value is not used. The Validate Audience option allows for disabling audience validation for these installations.
By default, this setting is True, which means the audience will be validated.
-
Open the OneStream Server Configuration Utility application.
-
Go to File > Open Web Server Configuration File.
-
Find the Web Server Configuration file and click the Open button.
-
Click the ellipsis to the right of Single Sign On Identity Provider.
-
In Validate Audience, select False to disable Audience validation.
